
Getting your website up & running using a website builder site is easy but if you want to host it at home or even onsite at your office, you may run into a problem or two. If you're self hosting odoo, you might notice that it is even more challenging since odoo uses port 8069 by default. Changing odoo's port may cause problems with the site, making it potentially unusable or not displaying content. What do you do in that case?

If you're stubborn like me, you'll use a reverse proxy server to point your domain name to the IP address of your odoo server. I decided to use nginx proxy manager as my reverse proxy server. I downloaded ubuntu server 24.04 on a raspberry pi 3, installed nginx proxy manager onto the freshly installed ubuntu instance & waited a few minutes before creating a new account. One of my biggest practices in hosting a service is to have two network ports bonded as one for higher throughput. As you can imagine, the raspberry pi don't have two ethernet ports on it.
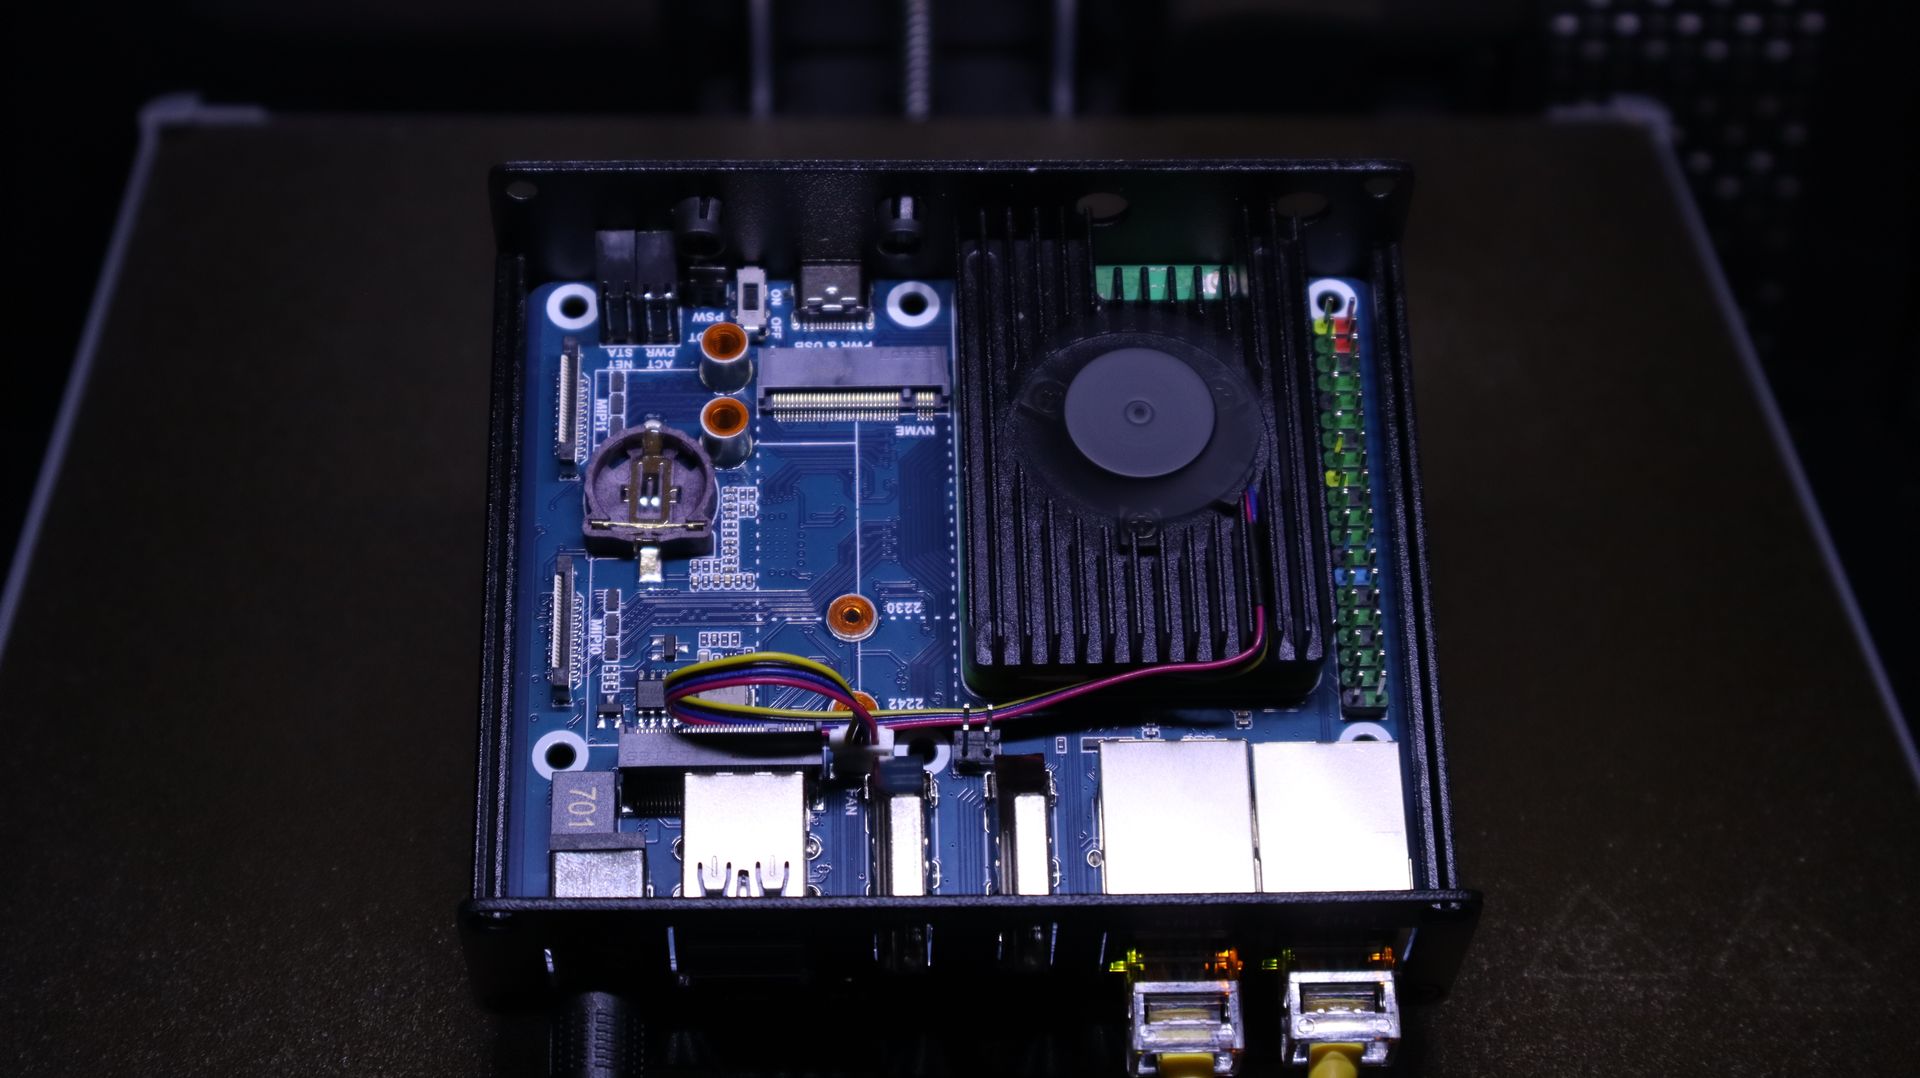
I decided to use my raspberry pi cm5 from a project it wouldn't work with, For those who don't know, the raspberry pi cm5 is a modular version of the raspberry pi 5. This allowed me to use this carrier board from waveshare, it has two ethernet ports, one will appear as usb ethernet. This carrier board also has 2 nvme slots, one for storage & another for cellular. It also has a battery slot for the onboard rtc (real time clock) & a switch for putting the cm into program mode, allowing you to flash the emmc storage with an os. I decided to flash ubuntu 22.04 desktop version so I could setup port bonding using the desktop ui. You can do the same following the instructions bellow to accomplish the same results on a raspberry pi.

First step is to update & upgrade with: sudo apt update -y && sudo apt upgrade -y
Next step is to install docker with: sudo apt install docker.io
You also need docker compose: sudo apt install docker-compose
You need to create a directory: mkdir ~/nginx-proxy-manager
Next, enter the directory using: cd ~/nginx-proxy-manager
Now you need to create the yaml file, you can accomplish this by copying the following bellow:
EOF
If you're using ubuntu desktop on a raspberry pi, you'll need to install an additional module, you can do this by typing:
Bring nginx proxy manager online with: sudo docker-compose up -d
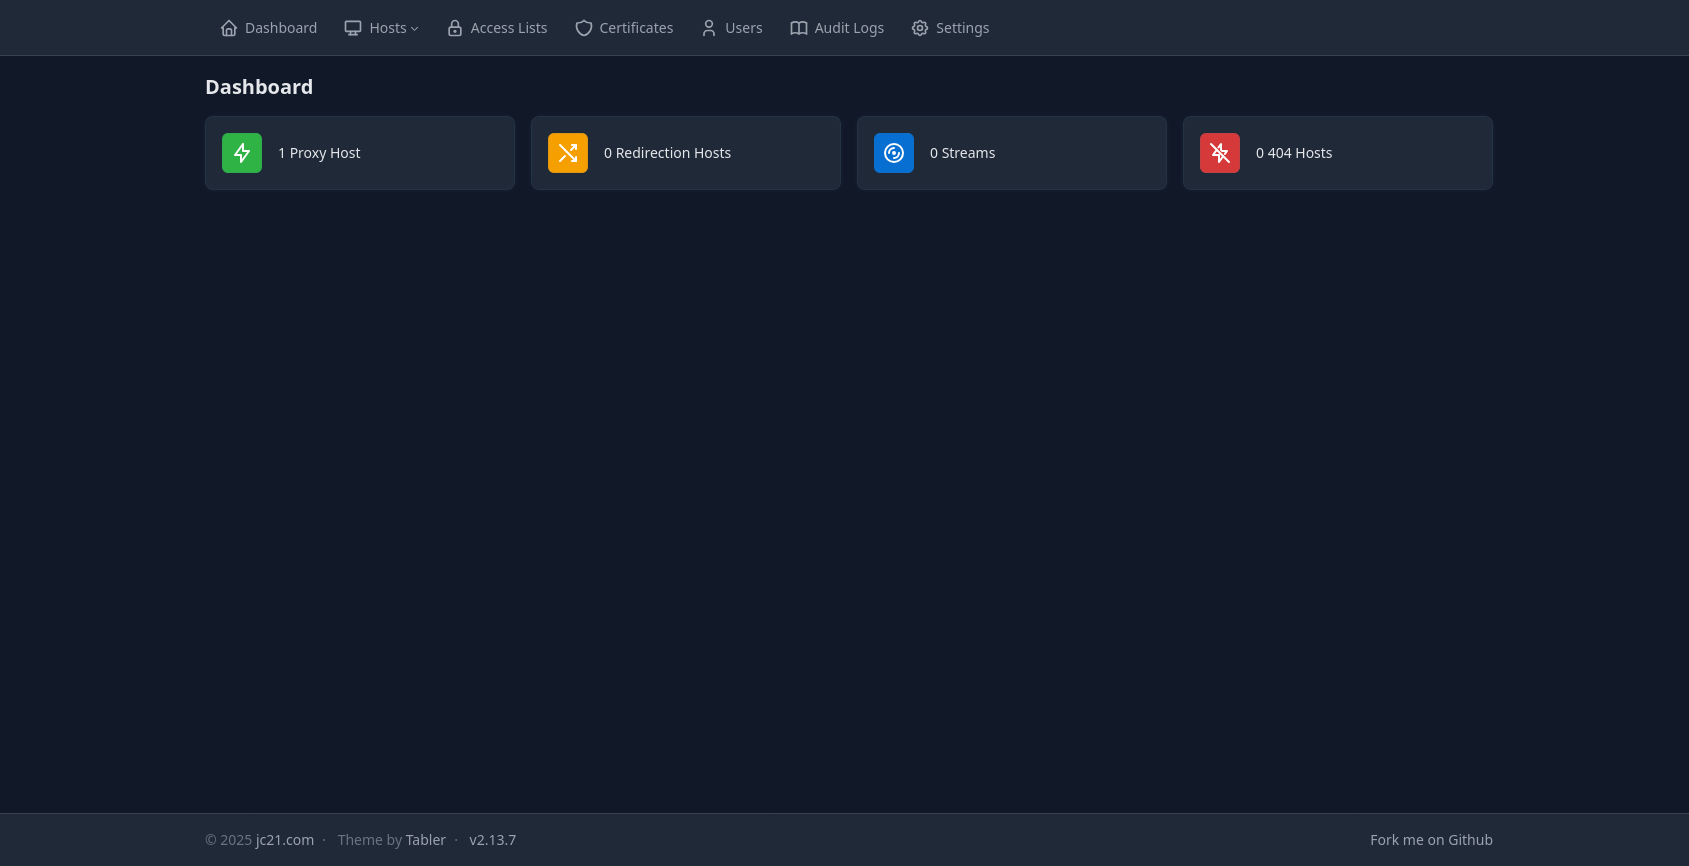
Keep in mind that this will take a few minutes for everything to get ready, you can enjoy a bowl while you wait. After a few minutes type http://192.168.0.0:81 into your browser be sure to use the IP address of your host machine. You'll be prompted to create an account, after crating an account, you can use your proxy server. Be sure to forward port 80 & 443 from your serer, you will not be able to bring your services online without forwarding those ports from your proxy servers IP address. To make your odoo service publicly accessible you'll need to create the proxy connection for your odoo server. Click proxies & add the required information of the service you wish to appear when your domain is entered into a browser.
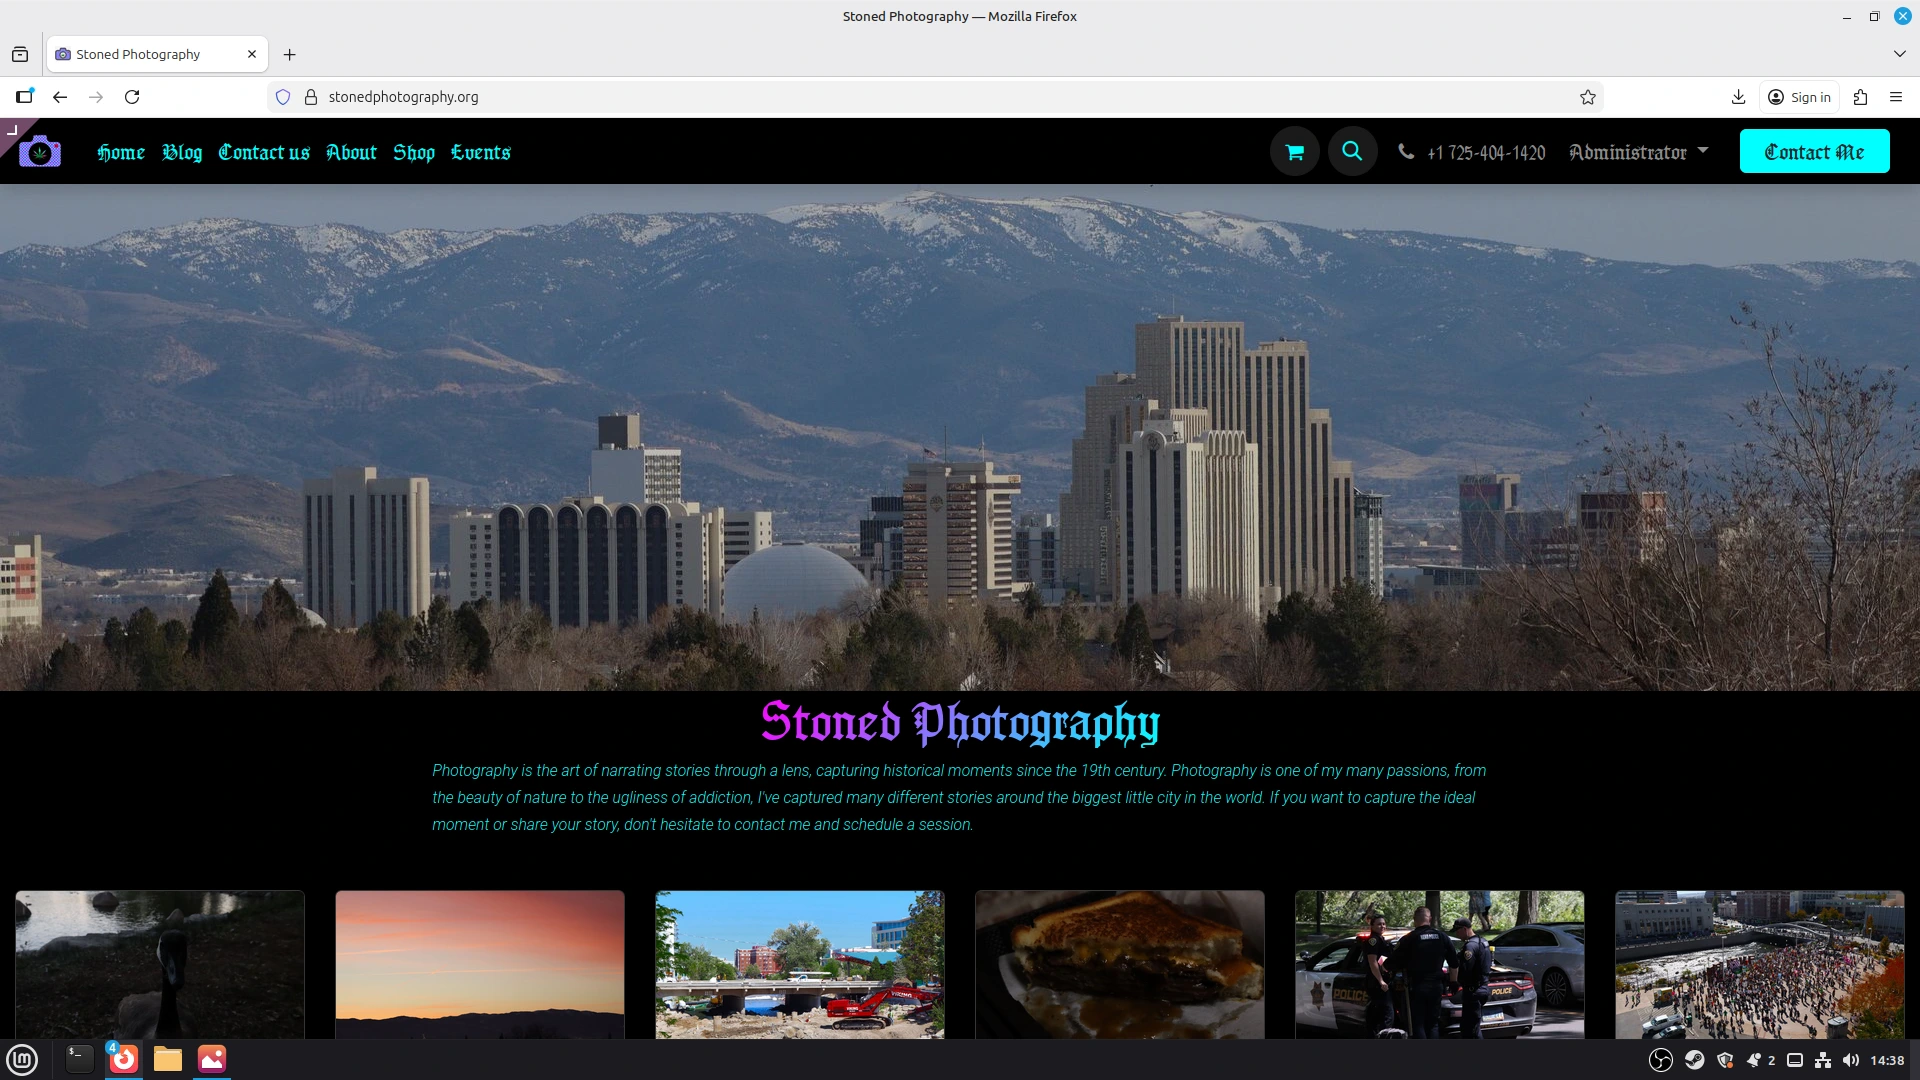
After you do that & save, your website or service will appear online like mine for example. I do hope you found this helpful & if you know somebody who would benefit from this blog post, feel free to share this post.